

TL;DR: A custom fence install runs through site assessment, design and material selection, permits where applicable, fabrication, ground prep, install, and final inspection, with the timeline shaped by material choice and the local jurisdiction.
What goes into a custom fence installation in Southern California depends a lot on the specifics of the property, but the framework is consistent: a site walk to confirm property lines and constraints, a design pass that picks the right material and configuration, a permit conversation if the local jurisdiction requires one, fabrication of the panels and gates, ground preparation and post-setting, the install itself, and a final walkthrough. The whole sequence typically takes six to twelve weeks from contract signing to install completion, depending on whether permits are needed and how complex the fabrication is. This guide walks through what actually happens at each stage so owners commissioning a custom fence know what to expect, what to ask, and where the timeline can move.
Stage One: The Site Walk
Every custom fence project starts with someone walking the property. The site walk does three things at once: it confirms the property line, it identifies the constraints that will shape the design, and it gives the fabricator the measurements that will drive the quote.
Property lines sound simple and are often not. A survey from when the home was purchased is usually fine for a fence install, but properties that have changed hands many times, or that border public right-of-way, sometimes need a fresh survey before any post goes in the ground. Most Southern California fence projects get by on the existing recorded plat, but the fabricator should ask about it before scheduling install.
Constraints come in several flavors. Sloped lots need stepped or racked fence design. Underground utilities (gas, water, sewer, electric, irrigation) need to be located and marked before any post hole goes in (call 811 for underground service alert at no cost). HOA architectural review committees in many SoCal master-planned neighborhoods need to approve the design. Easements along the back or side of the lot can restrict where the fence sits. And view-corridor or coastal-commission rules apply to specific properties in Laguna Beach, Newport Beach, Malibu, Palos Verdes, and similar coastal cities.
Measurements during the site walk should cover the linear footage of each fence run, the gate locations, the column or post positions, the grade changes that affect height, and any anchor points where the fence ties into the house or an existing wall. Good fabricators document all of this in writing so the design conversation later runs from the same set of facts.
Stage Two: Design and Material Selection
The design pass picks the material, the configuration, and the hardware. The decisions tend to come up in a predictable order.
Material choice usually comes first. For most Southern California properties, the realistic options are iron, aluminum, composite, glass, or wood. Each has trade-offs:
- Iron for traditional or Mediterranean architecture, properties that want visual weight, and projects inland enough that salt air isn't a daily corrosion concern
- Aluminum for modern architecture, coastal properties, low-maintenance priorities, and any project where the fence has to meet Zone 0 fire-safe rules in the first 5 feet from a structure
- Composite for properties that want the look of wood without the maintenance, often in privacy-focused property-line installs
- Glass for modern poolside or view-preserving installs, especially in coastal Orange County
- Wood for properties that want a natural feel, where the fence sits outside Zone 0 fire-safe restrictions, and where the owner accepts the maintenance commitment
Configuration covers the height, the picket or panel pattern, the gate locations and types, the column or post style, and any decorative elements. Our perimeter fencing for homes includes design templates that align with the most common Southern California architecture styles, which usually shortens the design phase by a few weeks.
Hardware decisions cover gate hinges, latches, locks, and any automation. Hinge sizing has to match the gate weight. Latch height has to match local code if the fence is pool-rated. Lock choice depends on how the gate gets used day-to-day. Manual key locks, electric strikes with intercoms, magnetic locks with access control, and integrated motorized openers each fit different use patterns and budgets.
Stage Three: Permits and Local Jurisdiction Review
Whether a custom fence install needs a permit depends on the city, the fence height, and the materials. Three patterns cover most Southern California jurisdictions:
- Standard residential fences under 6 feet inside the property line usually don't need a building permit, though some cities still require an over-the-counter zoning verification
- Fences taller than 6 feet, fences on retaining walls, and fences with significant column work usually need a building permit and engineered drawings
- Pool fences get inspected as part of the pool permit's final inspection, even if no separate fence permit was required
HOA approval is its own process. Many master-planned neighborhoods in Orange County, Coto de Caza, Ladera Ranch, the Rancho Santa Margarita area, and similar communities have architectural review committees that approve fence designs before the build can start. ARC review takes two to six weeks depending on the committee's meeting cadence and the completeness of the submittal.
Owners working with a fence contractor should verify the contractor's California Contractors State License Board status before signing anything. The CSLB license lookup shows whether the contractor's license is current, what classifications they hold, and whether there are any complaints on file. Custom fence and gate work typically falls under the C-13 (Fencing) classification.
Stage Four: Fabrication
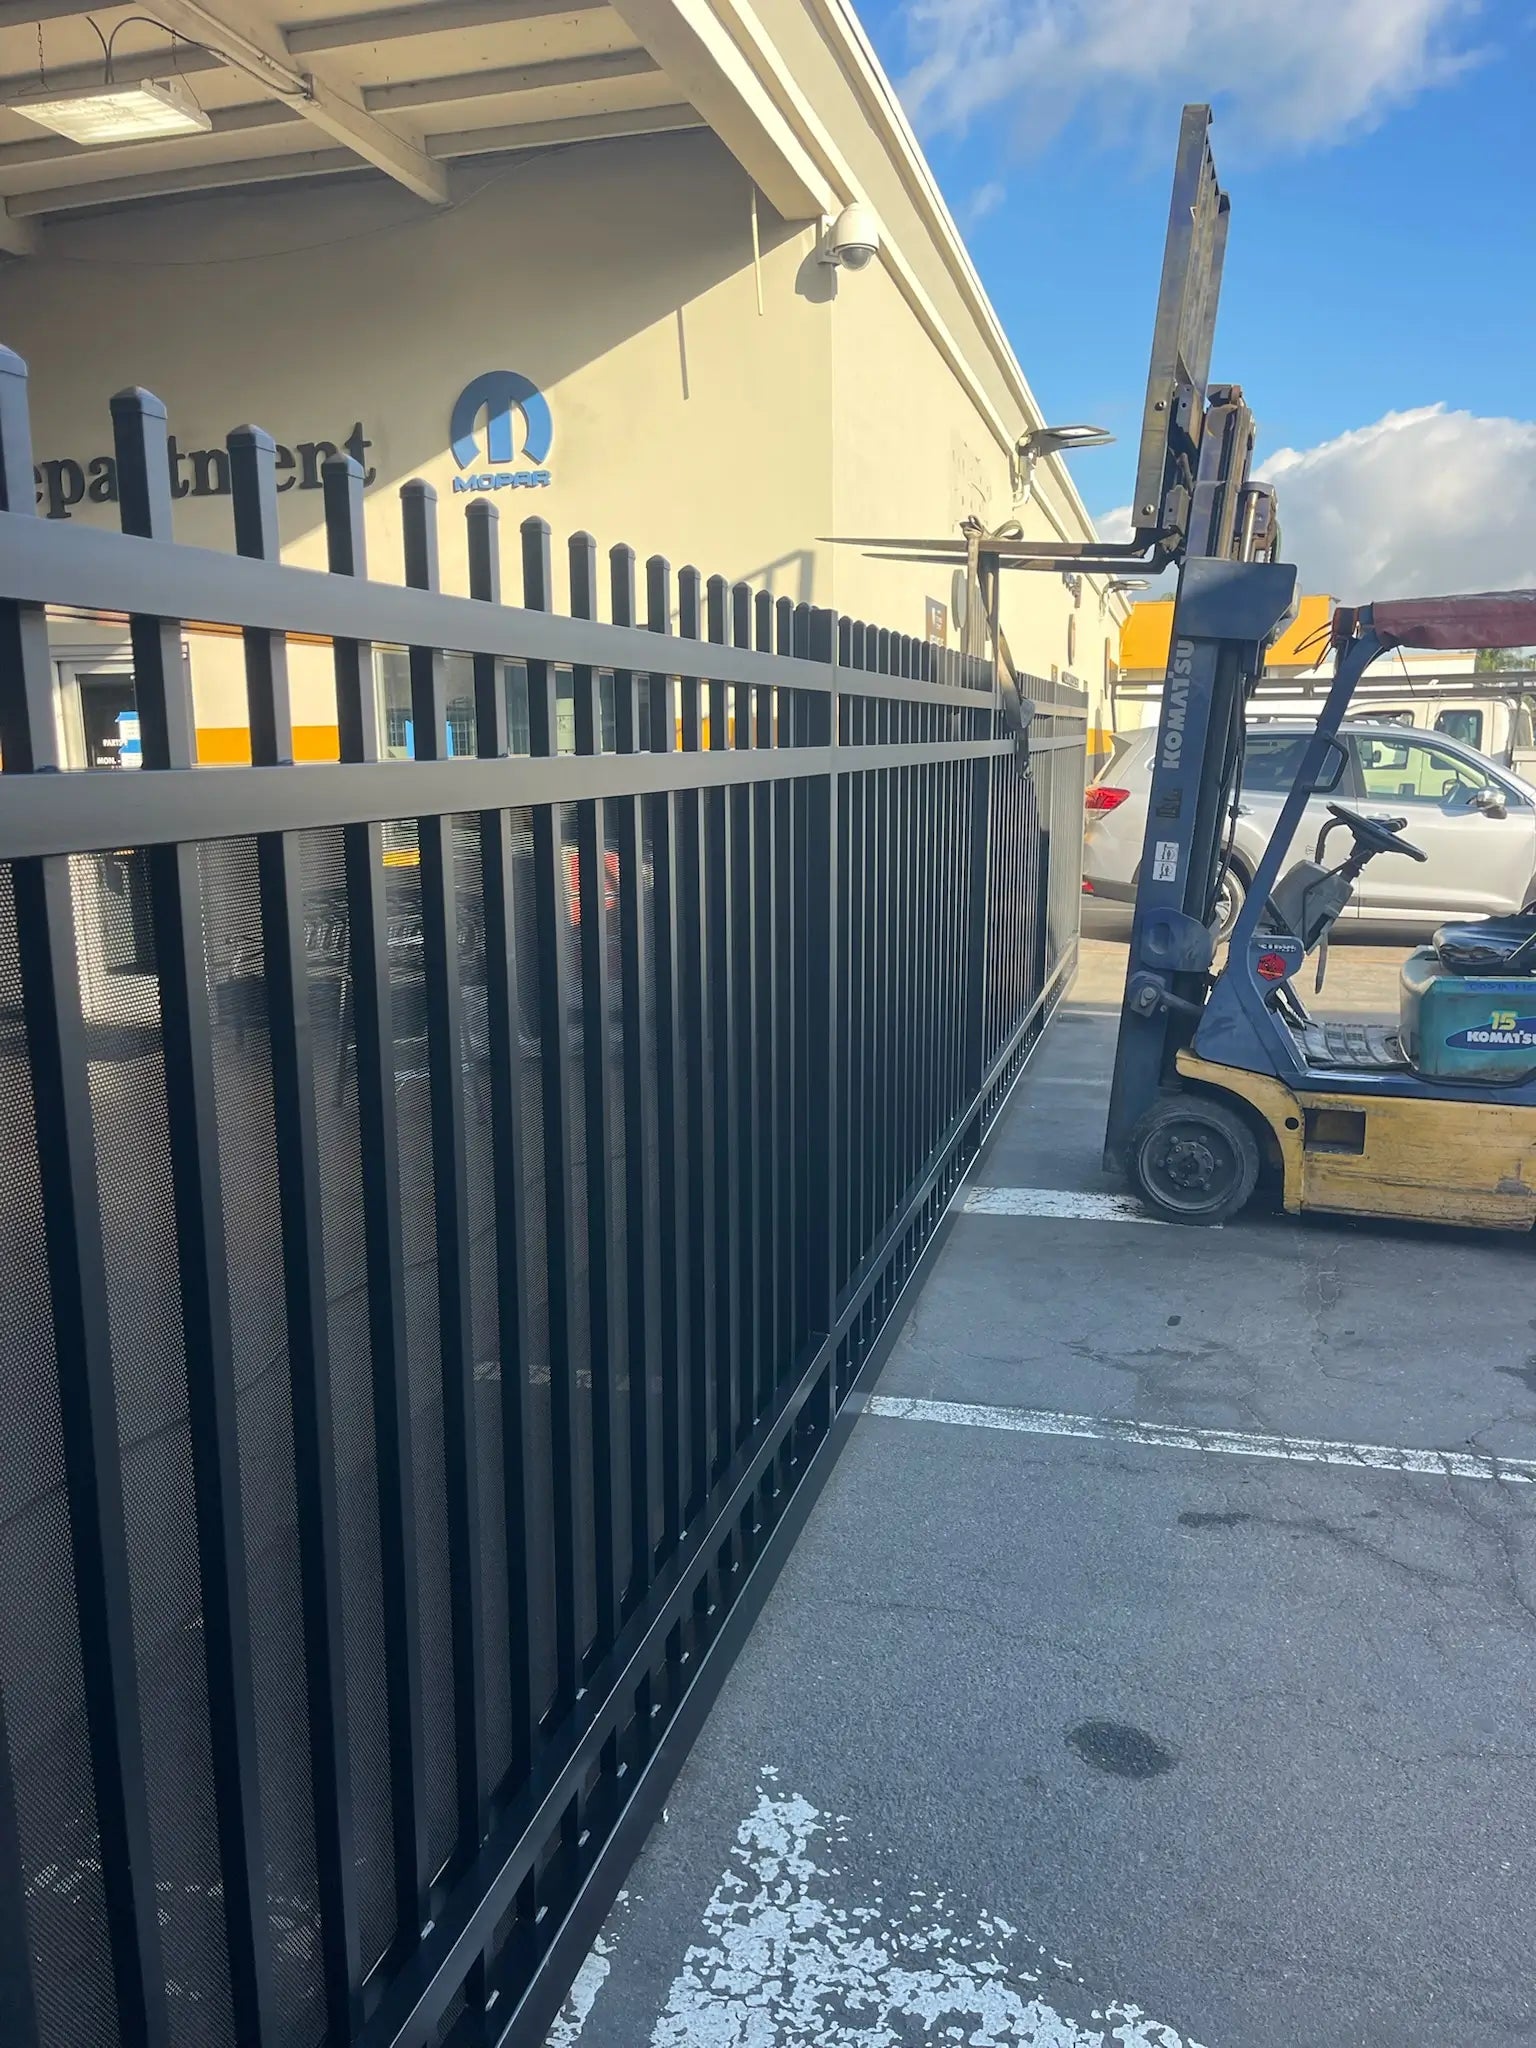
Once the design is locked and any permits are in hand, fabrication begins. For iron and aluminum work, fabrication usually takes three to six weeks. The steps run in sequence:
- Material cutting and assembly of panels and gate frames
- Welding and grinding of joints (for iron and some aluminum work)
- Surface preparation (sandblasting or chemical etching, depending on the material)
- Powder coating in the chosen color, with a curing cycle that typically takes a full day
- Hardware installation on gates and panels
- Quality check before delivery to the install site
Fabrication timing is usually the longest phase of a fence project, and it's also where rush requests come at the highest premium. The powder-coat cure cycle in particular doesn't compress well, and the major powder-coat suppliers in Orange County run on multi-week lead times during busy seasons.
Stage Five: Ground Preparation and Post Setting
The day before install, the crew should mark every post location and confirm that 811 has cleared the area for utility conflicts. Marking ahead of install prevents the worst version of a fence project: discovering a buried irrigation main or electrical conduit mid-dig.
Post setting depends on the fence material and the soil. Iron and aluminum fence posts typically set in concrete footings 24 to 36 inches deep, with the depth driven by the local frost line (effectively zero in most Southern California) and the wind load on the fence. Sloped lots need deeper footings on the downhill side to maintain structural integrity.
Drainage matters more than owners expect. A post hole that fills with water during a winter storm and then sits saturated for a week accelerates corrosion at the base of the post, even on galvanized or powder-coated material. Properly graded post holes drain away from the post, and footings include drainage gravel under the concrete in clay soils.
Stage Six: Installation
The install itself usually runs one to two days for a standard residential perimeter, two to four days for a larger property or a complex sloped lot. The sequence:
- Posts go in first, plumbed and aligned with string lines, set in concrete that cures for at least 24 hours before any weight bears on the posts
- Panels mount to the posts using brackets sized for the material and the panel weight
- Gates install at the end, after the gate posts have fully cured and the gate frames can carry the swing or slide weight without flexing the posts (a heavy wrought iron gate from our iron gate options needs an especially full cure)
- Hardware installation finishes the gate, including any automation components
- Touch-up and cleanup wrap the work day
For automated gates, automation wiring happens in parallel with the gate install, with the motor commissioning and access-control programming wrapping up the day before final inspection.
Stage Seven: Final Inspection and Walkthrough
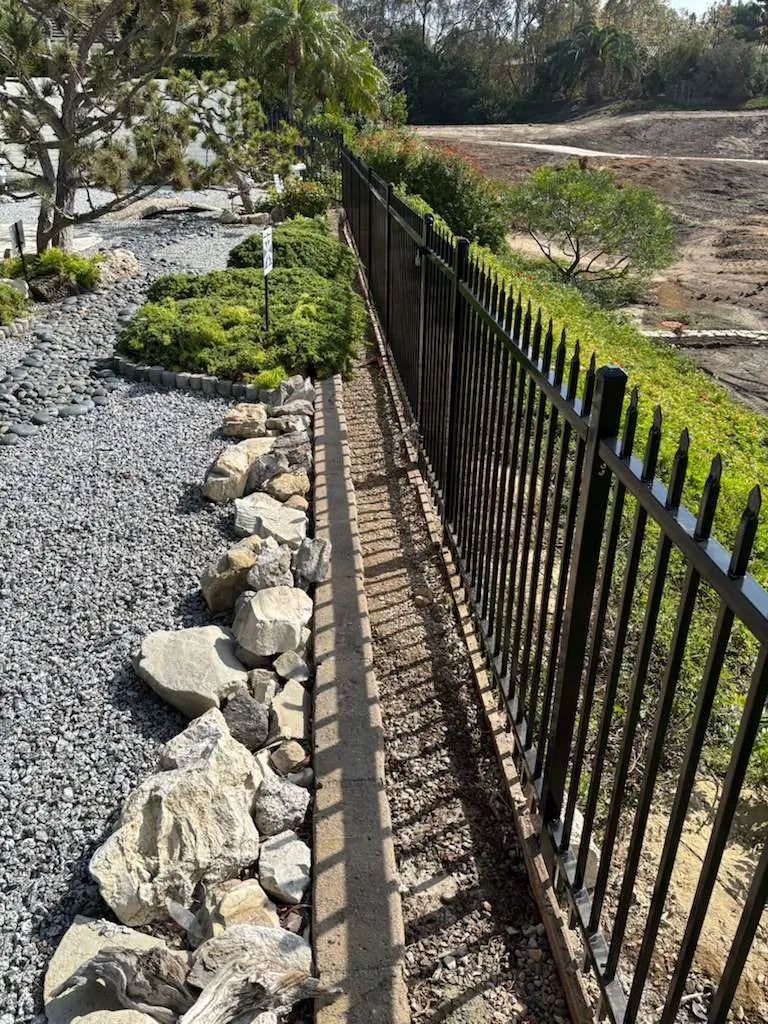
If the project required a building permit, the local building department inspects the work before close-out. The inspector checks the height, the post setting, the structural integrity of the panels, and any pool-code or fire-code requirements that apply.
Even without a city inspection, every reputable fence install ends with an owner walkthrough. The walkthrough should cover:
- Visual confirmation that the fence height, alignment, and panel spacing match the agreed design
- Hands-on test of every gate (open, close, latch from various positions)
- Demonstration of automation hardware if the gate is motorized (open, close, safety sensors, access control)
- Review of warranty terms for the material, the powder coat finish, and any automation hardware
- Care and maintenance handoff (what to expect over the first year, how to clean, what to look for)
The walkthrough is also when the owner signs off on the project as complete, which triggers final payment under most fence contracts. Don't sign off until every item on the punch list is genuinely done.
Realistic Timelines for Common Southern California Fence Projects
Project complexity drives the total timeline. Three rough benchmarks help owners set expectations:
- Simple residential perimeter (one straight run, one gate, no permit, no HOA review), six to eight weeks from contract to install
- Standard custom property (multi-run perimeter, two or three gates, HOA review, no building permit), eight to twelve weeks
- Complex custom build (large property, multiple gates with automation, building permit required, custom fabrication details), twelve to twenty weeks
The biggest swing factor is permits and HOA review. A jurisdiction with a fast permit counter can issue a fence permit in a week. A jurisdiction with a backlog can take six. HOAs that meet monthly add a four-week minimum if the design lands at the wrong time in the cycle.
To talk through what a custom fence installation would look like for your specific property, with realistic timing and a clear design conversation, schedule a consultation and we'll walk through the site, the design options, and the install path.
FAQ
How long does a custom fence installation take in Southern California?
Six to twelve weeks from contract to install for most residential projects. Simple straight-run perimeters with one gate land at the shorter end. Larger properties with multiple gates, HOA review, or a city building permit move toward the longer end. Complex custom builds with significant automation can run twelve to twenty weeks.
Do I need a permit for a residential fence?
Usually no for a standard fence under 6 feet inside the property line, but rules vary by city. Fences taller than 6 feet, fences on retaining walls, and fences with significant column work typically need a building permit.
Should I choose iron, aluminum, composite, glass, or wood?
The choice depends on the architecture, the climate exposure, and the maintenance commitment. Iron carries the most visual weight and traditional feel but needs maintenance in coastal salt air. Aluminum is the modern, low-maintenance default for coastal SoCal.
How do I verify a fence contractor is licensed?
Look up the contractor's license at the California Contractors State License Board (CSLB) website. Custom fence and gate work typically falls under the C-13 (Fencing) classification.
What should I look for at the final walkthrough?
Visual confirmation that height, alignment, and panel spacing match the design. A hands-on test of every gate. A demonstration of any automation hardware. A clear review of warranty terms and care/maintenance handoff.
